Additional Awesomeness...

Saturday, September 20, 2014

No-Sew Roman Shade

I'm BAAAACKK!  And with a no-sew Roman Shade, no less!  Ok, so it's not my finest DIY, but, it's functional and easy to do.  And it was FREE!  I followed a couple of different tutorials out there to get 'er done.

Dramasaur's blinds were a mess.  Broken ends, and one side did not go up.  I took them down, and dismantled them according to some of the suggestions I found online.  I do not have a photo.  I was IN IT.

I simply used a navy blue blackout panel I'd bought at Target many, many moons ago.  The thing had been moved with our linen closet to three different houses, so, it was past time to use it!

I measured the width of the slats, and folded my panel accordingly, using Heat-n-Bond to secure it.

I decided how many pleats I wanted the blind to have (5), and divided my panel, subtracting 2 inches for the width of each slat.  My slats ended up being 9 1/4 inches apart, with the very top of the shade 10 inches from the first slat.  Confused much?

So, I glued the slats down with craft glue meant for fabric and plastic.  I piled everything heavy I could find on each one as I went, making sure the glue was dried tightly. 

Then I just hung the blind/shade back where it came from and, VOILA!


Sorry again for crappy photos.  I promise, I'll be investing in a decent camera come tax time!  Of course, shooting a window in the intense summer afternoon sun is never an easy thing.

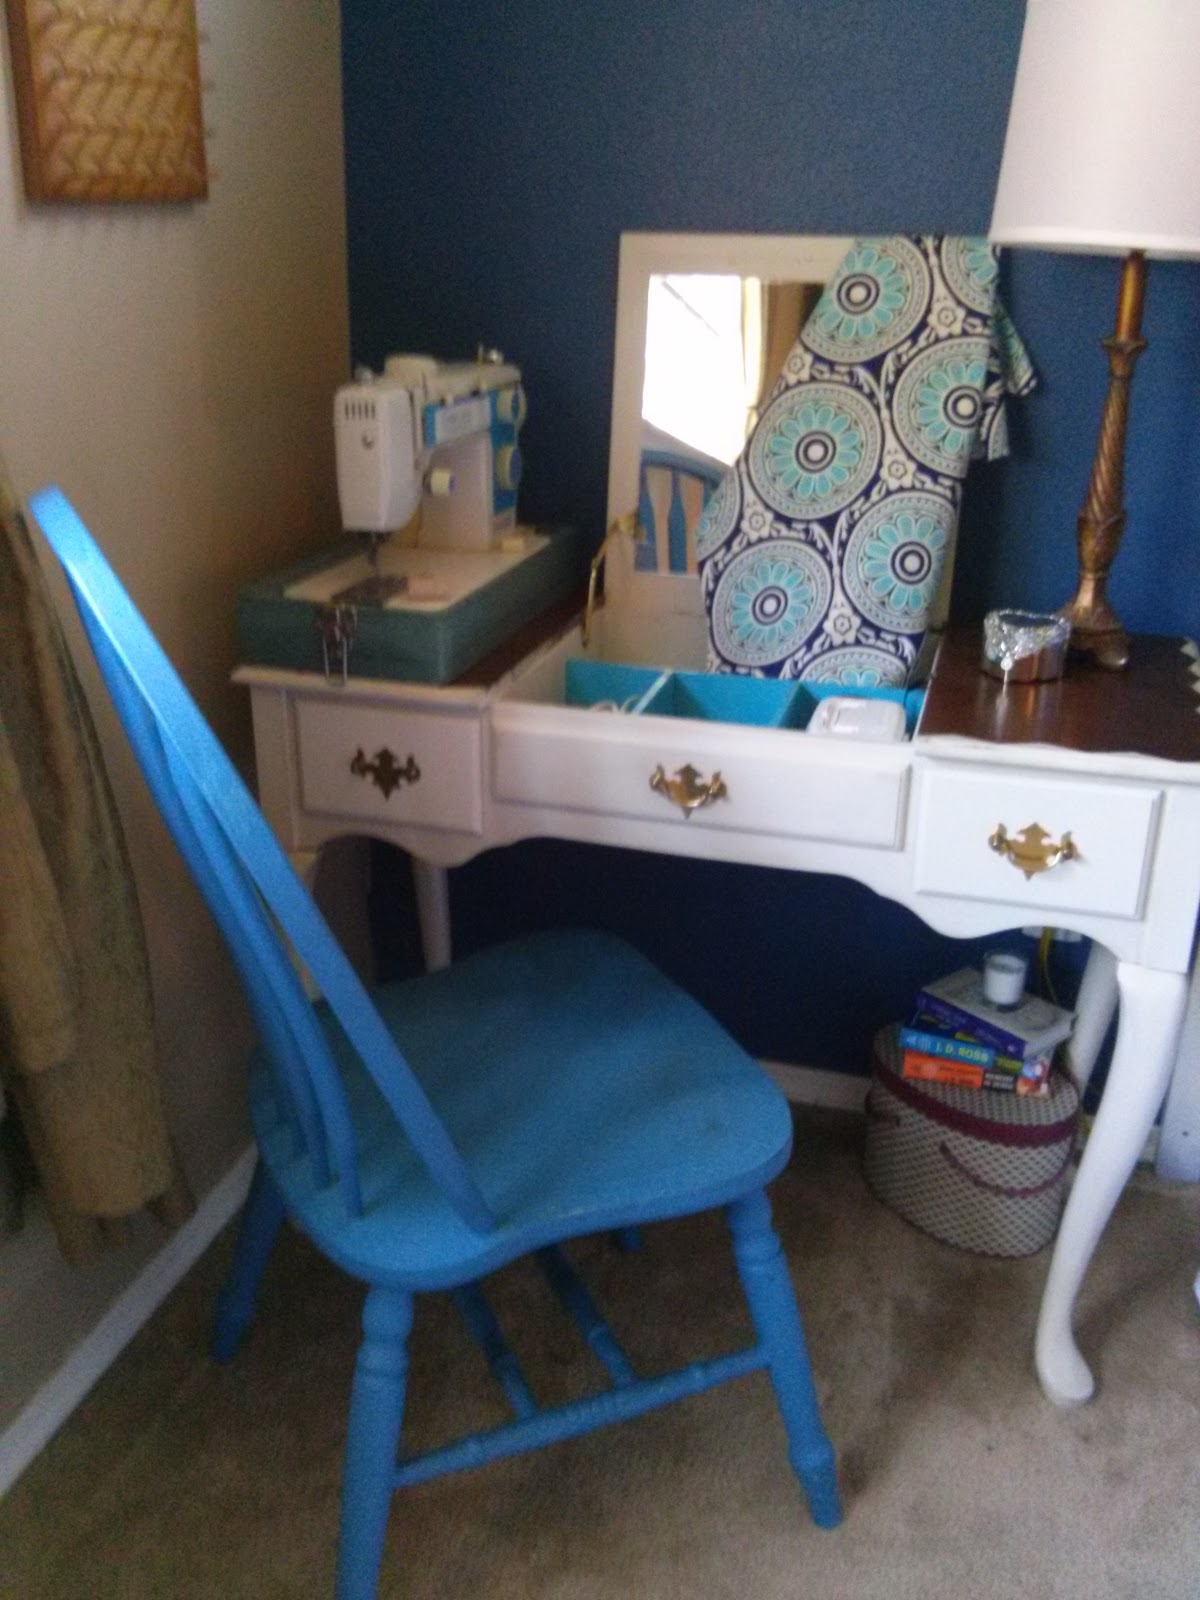
Looking back, I wish I had measured according to the window, rather than the existing blind, to eliminate that gap between the wall and the blind.  But it does the job.  Almost too well!  My son never wants to get up now, as he thinks it's still night time!

Friday, September 19, 2014

A little vanity


Here is another piece I acquired over  a year ago, via Craigslist.  A cute, reproduction Queen Anne style cherry vanity. 

Ok, so that's not a picture of the vanity.  BUT, it is the bench that came with it!  Sadly, one of the legs splintered at the bolt point, so it's been relegated to the "Things I need to fix someday" pile.  You get the idea.  Shiny, red, curvy.  Cute, but not quite my style.  For $20, I knew I could (eventually) make it me.

Here we go again with the fast forwarding.  This cutie lived in my room, functioning as a too-short computer desk for almost 2 years.  Her drawers were full of junk, and her lid never lifted.  Poor thing!

Anyway.  I pulled her downstairs and got to work.  THREE, yes, 3! coats of stripper later, the laquer was gone. 


It wasn't pretty people.  I ended up scraping, and VERY lightly sanding the top, because that veneer was the thinnest I've ever come across.  The legs were easier.  Because I planned to use the same DIY chalk paint I used here, I didn't need to do more than give them a quick scuff with some 60-grit.  And get creative with drying solutions...

Why yes, that is the frame of our gazebo.  And the ugly back of the BBQ.  And the trash bins.  Keeping things real peeps.  Keeping it real.

Soooo, I stained the top my go-to mix of Minwax stains.  Don't ask how much of each, because it really was a mad-scientist sort of mixing that happened.  I couldn't perfectly replicate it if I tried!

I wanted to do a fun treatment on the edge, and remembered that I had some Chevron FrogTape(r) Shape Tape from another project.  I just laid it down and burnished the edge really well (in some places and not so well in others!).  This is what I ended up with:


Cute, no?  I haven't quite decided what to do about the hardware, so I just re-installed the old and called it a day.  I love how the paint bled and chipped a little across the edges of the tape, giving me a bit of that vintage vibe I love. 

I finished this piece off, as I do with so many, with Minwax clear finishing wax all over the top and frame.  I want the legs to get a little wear on them before I seal, but I did not want the more uniform look I'd get from sanding.  This table serves as my nightstand, sewing and craft table, so the wear pattern will look much different than usual.

Here she is, the multi-tasking beauty!

That chair was an Ooops from way back.  Just a happy accident that it looks fabulous in our room!

I forgot to mention the inside!  I painted it my favorite color, so I'd smile every time I open the top.

Thursday, September 18, 2014

Piggy is 5!

We had another Army-themed party last Sunday.  I know.  And another Army cake.  Again, I know.  But, it makes Piggy happy, so I'm happy to do it for him.

This party was MUCH more low-key than last year.  We had right at 20 people, which seems to be a sweet-spot for birthdays.  Everyone had a great time swimming, and later, shooting each other with all the different Nerf and water guns he received!


Grandma's Cedar Chest


Hey there!  I'm finally taking some time to catch things up around here, after being off work for almost a month (that's a whole 'nother post).  I was able to finish up a slew of projects that had been languishing in my garage and giving The Man a twitch.

First up, my grandmother's blonde MCM cedar chest.  Now, this chest was given to me back when I was a teenager, to serve as a hope chest.  Which it did, for a number of years.  I remember sitting and embroidering pillowcases and tea towels with my great grandmother, then carefully storing them in my chest.  I picked up new and useful things at yard sales and tucked them away in my chest.

The chest and it's contents moved many times with me.  When I graduated high school, the chest helped me furnish and stock an otherwise empty apartment in Santa Barbara.  It served as extra seating and a place to throw my blankets for years.

The poor thing kicked around several houses since I got married, never really fitting in, never living up to it's potential as a pretty, useful, heirloom-quality chest.

Fast forward to, oh, about a year ago.  I finally began sanding down and messing around with paint.  I knew I wanted the play of dark and light on this piece, because, well, I just did!

I removed the lid and drawer, sanded down the veneer on the body and lid, and then, it sat.  And sat.  And my husband's eye twitched and twitched every time he cleaned out the garage.  I mean, this wouldn't make your eye twitch, would it?


Pint-sized elbow model not included!

Fast forward again to August.  I had the twitchy man help me drag this thing (it's HEAVY!) into the back yard so I could make something gorgeous out of it.  I had swiped some paint from Dad's stash (thanks Dad!) and mixed up a DIY chalk paint for this beast.

Imagine four coats of creamy white in various stages of dry all over this thing.  Oh, and imagine the drawer with stormy blue sides to play off that creamy drawer front.  Out in the yard.  YES!

Here she is, all purtied up.  I used my custom mix of Dark Walnut, Golden Oak and Ebony stains by Minwax on the lid before I reattached it.  I love how the dark and light work together on this piece.

Now we finally have a good place to store our knock-out blankies in the living room!

Not a great shot, in front of the black fireplace.  But a worse shot would be where she
ended up, next to the couch!  Though, she's styled much more prettily in her new home.

You can see where all the bums perched over the years, just by the way the stain took! 
I love the variation and patina on the lid - it tells our story.

Monday, September 8, 2014

A little jaunt to San Francisco

Everyone wants to get out of town one last time before school starts.  In our case, it was out of town and out of the HEAT!  So, we took a quick drive over to San Francisco for a day.

We've never taken the boys to the city before, and I wanted to hit the highlights.  So, I made a loose itinerary, and looked up coupons and deals online like it was my job.

We headed out around 6 am, once again borrowing my mom's car with the third row seat.  I swear, my next vehicle will have 3 rows of seating!  It's so wonderful, and such a first-world thing, but seriously, I can't express how nice it is not to hear about someone touching someone else, or leaning, or looking, or just breathing.  

We started off our day at Pier 39.  We hit up the Visitor's Bureau first to score some coupon books.  Two free hours of parking?  Yes please!  Our second stop was the aquarium.  This one has tunnel-view tanks that I wanted the boys to experience.  It's a smaller aquarium, but still cool.  It was the last day of their Shark Week, so we were treated to some extra keeper chats and such.  The tunnel tanks freaked out Piggy a little - I don't think he ever expected to see the underside of a shark with only a few inches between them!


We all enjoyed a walk around the pier, gawking at the sea lions and pointing out Alcatraz Island .  By then we were all approaching hangry status, so we ducked into Bubba Gumps for some lunch.  We ended up only paying $9 for our nearly four hours of parking, thanks to our coupon books and such!  

After the pier, the boys decided we needed to hit a beach.  Any beach.  So, we headed to Golden Gate Park.  Scored some free parking after a search, and headed out for our beach hike.  The views of the bridge and Alcatraz Island were great, as the fog had moved offshore for the day.  It was sunny and warm, with a slight breeze - a perfect beach day!


Good Lookin' Kids!

Obligatory Selfie.  


My guys; Stanky, Grumpasaur, Piggy & Dramasaur!

Stanky the cheese-ball

The Palace of Fine Arts.  Nobody but me wanted to visit.  BOO!

The Golden Gate Bridge

Family Selfie!


Aren't my men handsome?

We spent almost 3 hours at the beach that day.  We took a quick drive up to Coit Tower, drove through Little Italy and pointed out Lombard Street and the TransAmerica building.  We drove over the Bay Bridge to get in and out of the city, but did not have time to take them over to the headlands via the Golden Gate, nor did we have time for a Cable Car ride.  Next time.  And believe me, they are addicted, and there WILL be a next time!